


The New Headless Raspberry Pi Setup
With the recent changes in Raspberry Pi OS, the default username ‘pi’ won’t allow login anymore. The new headless setup for Raspberry Pi 2024 is crucial as the default username ‘pi’ and password ‘raspberry’ will not work on the new OS.
As per the official Raspberry Pi blog at Raspberry Pi Bullseye Update April 2022, the default username and password will no longer be allowed for headless login. This, coupled with the new HDMI connector cable for Raspberry Pi 4 not being readily available, presents a challenge for end users.


As per the official Raspberry Pi blog at Raspberry Pi Bullseye Update April 2022, the default username and password will no longer be allowed for headless login. This, coupled with the new HDMI connector cable for Raspberry Pi 4 not being readily available, presents a challenge for end users.
Headless configuration
Raspberry Pi Imager tool


For those running their Raspberry Pi headless and unable to use the wizard, the Raspberry Pi Imager tool is a lifesaver. It allows you to preconfigure an image with a user account. When such an image is booted, it directly enters the desktop, logged in as the user configured in the Imager.
Here’s a step-by-step guide:
- After selecting the source image and destination in Imager, click the “settings” button – the cogwheel image – before clicking “Write.”
- Use the Advanced options menu to provide a username and password, and any other preconfigurations needed.
- Ensure to:
- Enable SSH and enter the relevant details.
- Set username and password.
- Configure wireless LAN with your network details.
- Set timezone and keyboard layout as per your preference.
- Decide on enabling or disabling telemetry based on Raspberry Pi’s policy.
- Click save. Make sure you’ve selected the correct Raspberry Pi version and SD card.
Tip: Download the image first from Raspberry Pi OS Operating Systems to avoid connectivity issues and for writing to multiple SD cards if needed.


8. I prefer to download the image first https://www.raspberrypi.com/software/operating-systems/ this avoids any hiccups which may arise due to internet connectivity. Moreover, this enables me to write to multiple sd cards if required.


The manual method
If you already have the Pi image installed, there are alternative ways to preconfigure the setup without the Imager tool:
- Create a file named
userconforuserconf.txtin the SD card’s boot partition (visible on Windows or macOS when mounted). - The file should contain
username:encrypted-password. - To generate an encrypted password on a Windows 10 machine, use:
echo 'mypassword' | openssl passwd -6 -stdin. - Remember to:
- Place an empty file named
sshin the boot partition for SSH enablement. - Configure the
wpa_supplicant.conffor your Wi-Fi network.
- Place an empty file named
Optional: Assign a static IP by adding ip=x.x.x.x at the end of the line in the cmdline.txt file in the boot partition.


echo 'mypassword' | openssl passwd -6 -stdin

userconf.txt file in the boot partition of the sd card.Connecting to Your Pi via SSH
After booting, you should be able to SSH into the Pi using the username/password you set. For additional settings, use sudo raspi-config to access the Raspberry Pi software configuration tool.


(optional) Assign an IP address to open the cmdline.txt file in the boot partition of the sd card and enter ip=x.x.x.x at the end already present line, after line.target


After booting pi hopefully you can ssh into the same using the username/password you set. To enable or disable more settings you may use sudo raspi-config command to open the RPi software configuration tool.


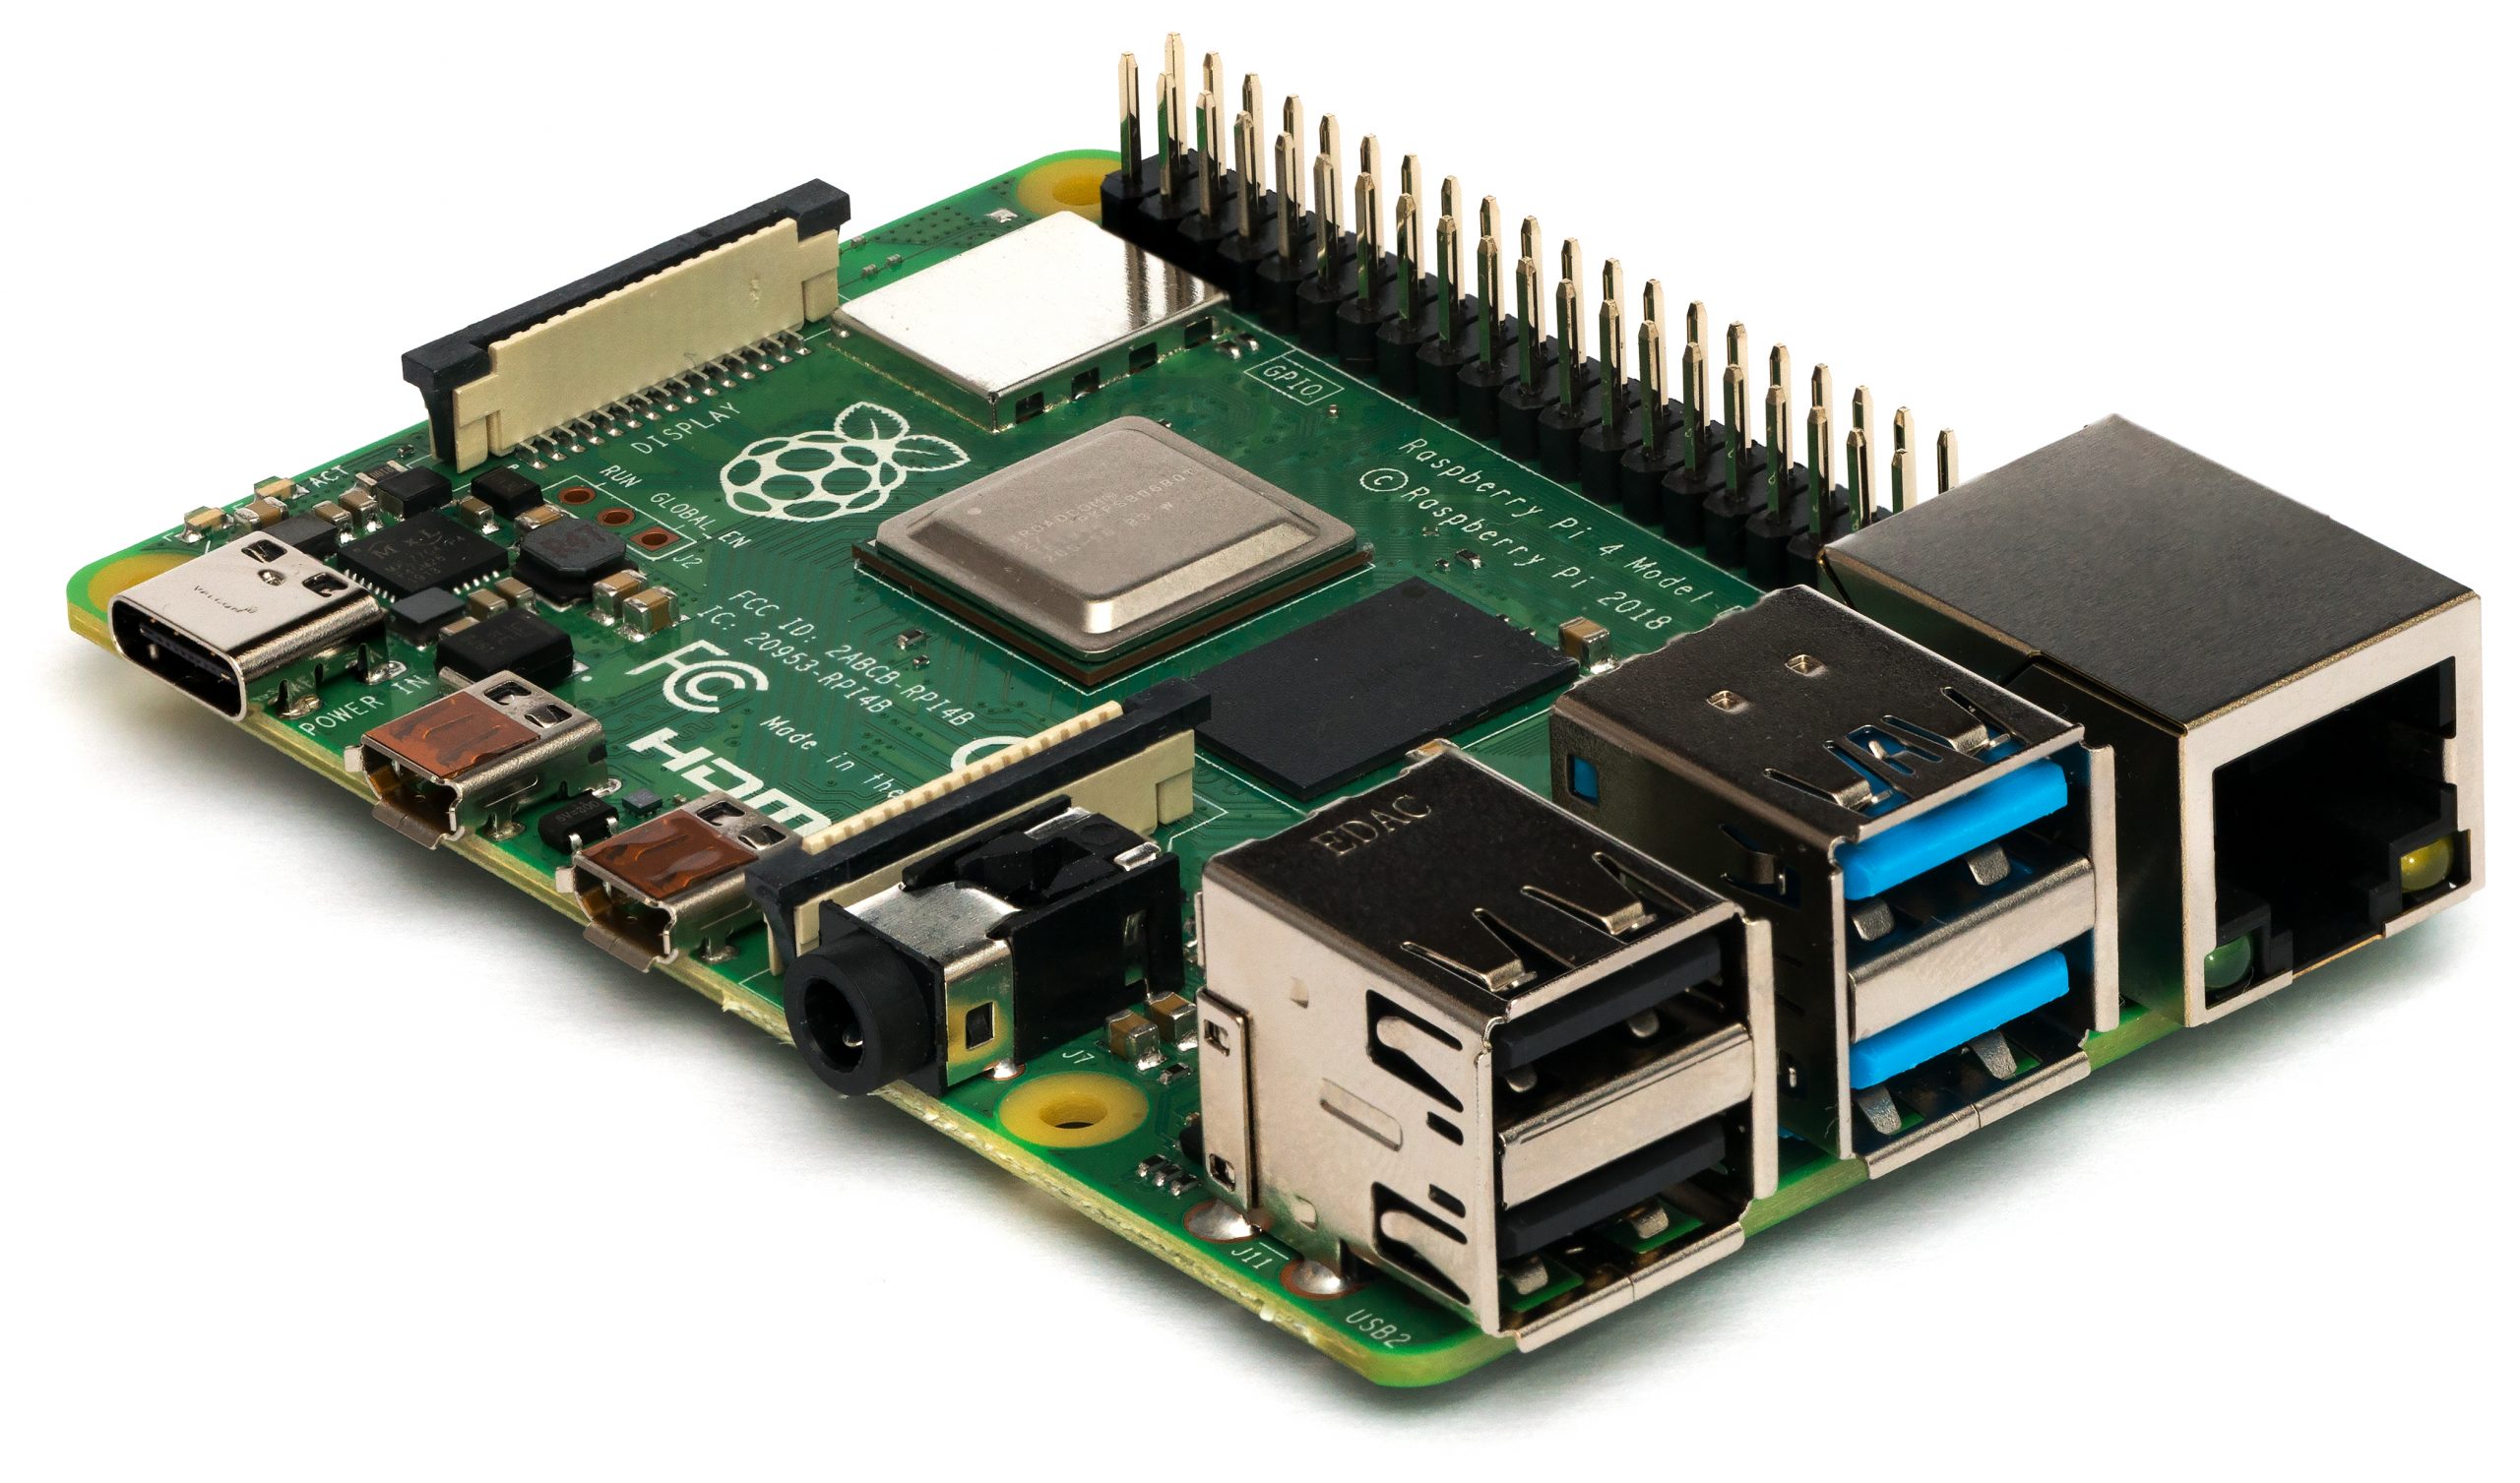
Headless Raspberry Pi Setup
Additional Insights from Tom’s Hardware
Avram Piltch from Tom’s Hardware emphasizes the convenience of Raspberry Pis, especially for remote control. They detail how to set up a headless Raspberry Pi for the first time, even for the latest Raspberry Pi 5 model. Their guide includes:
- Using Raspberry Pi Imager for installing OS on your microSD card.
- Customizing settings for hostname, username/password, and Wi-Fi configurations.
- Enabling SSH for secure remote access.
- Editing Wi-Fi settings on a prewritten card.
- Options for direct USB connection (specifically for Pi Zero / Zero W).
- Steps for direct Ethernet connection between your Pi and PC.
For a comprehensive guide and more advanced configurations, visit Tom’s Hardware’s guide on “How to Set Up a Headless Raspberry Pi”.
That’s all Folks!


Thank you for this! Man it’s annoying when you try outdated approaches and they don’t work!